How to clean RO membrane to fix 95% of clogged and slow-flowing filters
1. Should the RO membrane be cleaned?
RO membrane should be cleaned 3 times/year to ensure pure water quality, prolong the life of the membrane and filter system. Because after a period of use, the quality of the RO membrane will be significantly reduced by the dirt and impurities that have not been filtered through the coarse filter core sticking around the membrane.
After a period of use, the RO membrane is easily dirty and needs to be cleaned or replaced immediately.
The RO membrane is located deep inside the filter cup, so you will not be able to evaluate the quality of the filter membrane from the outside. However, when the filter has one of the following signs, you should consider cleaning the RO membrane:
- The water output from the faucet is weak, sometimes there is no water.
- The machine runs continuously and cannot be turned off automatically.
- The machine is not working but there is still wastewater.
- The amount of pure water output decreases, the amount of wastewater increases.
- The machine is not running smoothly and is making loud noises.
Or to be more sure about the water quality, you can refer to using technical tools to check. The RO membrane will need cleaning when:
- Filtered water quality decreased by more than 10%.
- Machine pressure difference exceeds 15% (exceeds normal operating limit).
The higher these numbers are, the more serious the RO membrane blockage is and the more difficult it is to handle. In that case, you can consider replacing the filter membrane.
During the RO membrane cleaning process, you also need to note:
- Operate properly, gently and carefully to avoid reducing the filter core function.
- For the RO membrane to work best, it should be cleaned 3 times a year.
- If the RO membrane is more than 1 year old, you should consider replacing the new core to ensure pure water quality.
For details on how to replace water filter core number 4, you can refer to: How to replace water filter core number 4 - RO core takes only 10 minutes, anyone can do it .
2. 5-step process to clean and flush RO membrane
Cleaning the RO membrane is not as difficult as you think, please refer to the instructions below.
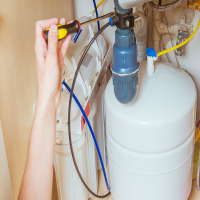
Step 1: Close the water supply valve and unplug the power.
Steps to follow:
- Disconnect power for safety.
- Disconnect the water system connected to the water purifier.
- Close the pressure tank valve and drain all water in the functional filter cores.
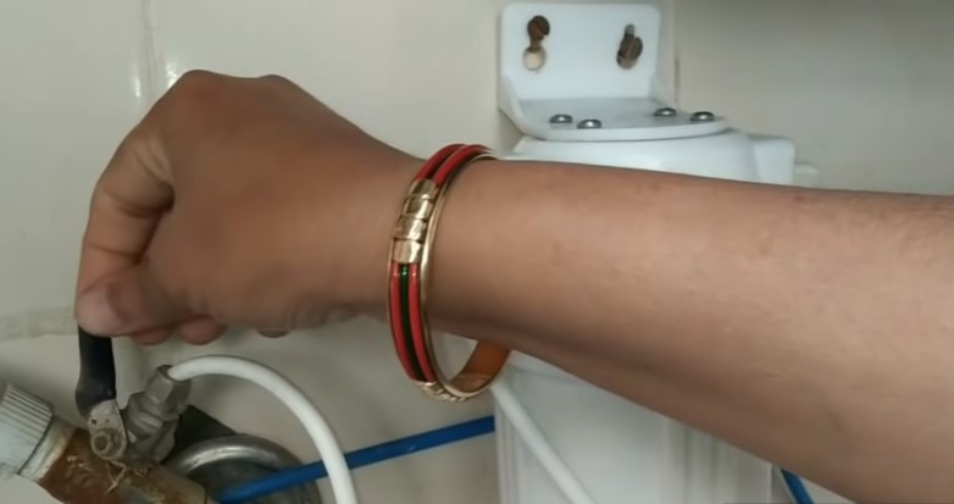
Turn off the power, water and lock the inlet valve to help clean the filter membrane safely.
Note: It is necessary to drain all the water in the functional core to avoid water leaking out when removing the core and causing damage. other parts in the filtration system.
Step 2: Remove the filter cup from the filter system
Steps to follow:
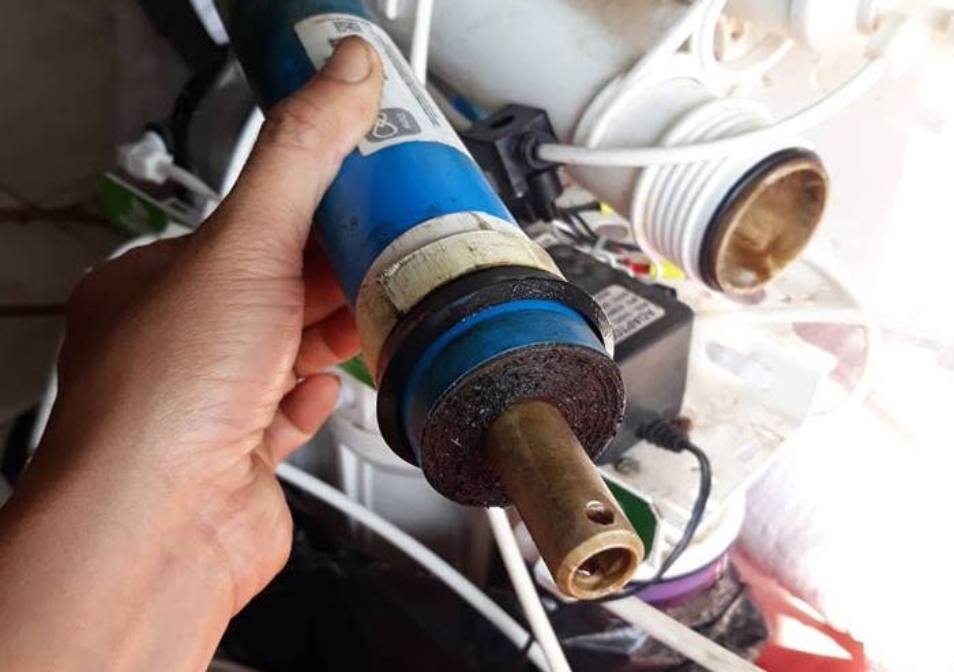
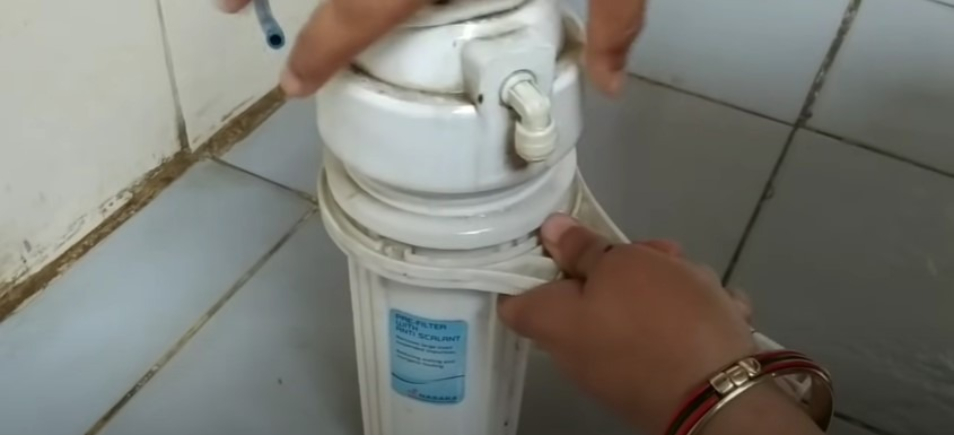
- Locate the RO filter cup, the RO membrane is placed in the largest filter cup of the machine, behind the functional filter cups on the shelf.
- Remove the connecting wires, the input wires of the core. You can use your hand to unscrew the input connection cup (located on the right side of the membrane cup) and then take the filter cup out.
When removing the RO filter cup, remove it carefully to avoid water leakage to other parts of the machine.
Note:
- When removing, be careful to avoid water from the filter cup spraying into the power source and electronic valve, causing damage to the device.
- Remember the location of the 3 wires including the water supply wire - the largest wire, the filtered water wire - connected to the blue faucet, the waste water wire - connected to the white faucet, so that when reassembling, you will not confuse the wires. It is best to take a photo!
Step 3: Clean the filter cup
Steps to follow:
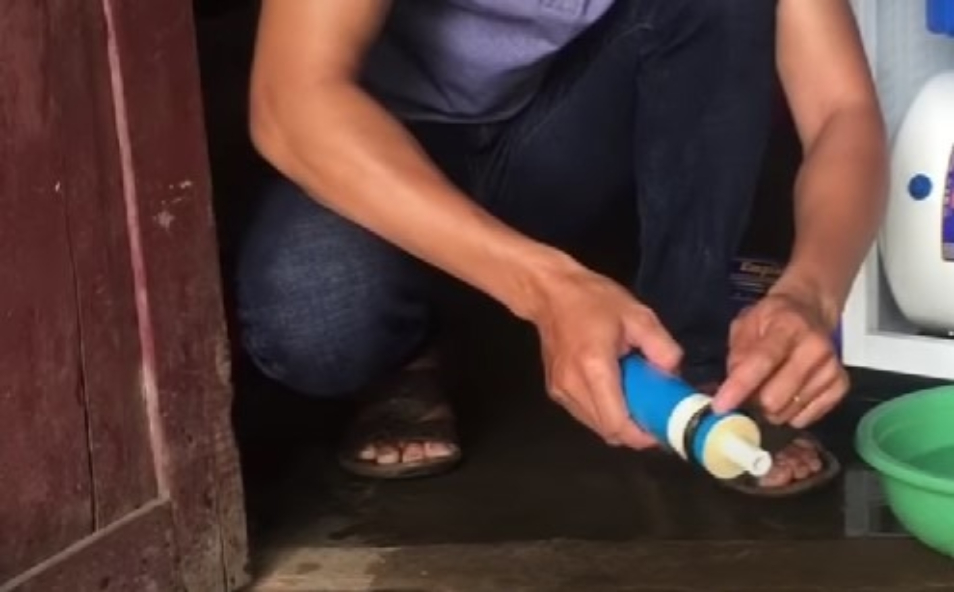
- The top of the RO filter cup lid is usually quite tight, you should use the specialized wrench that comes with the machine to open the lid. In other cases, you can use a rubber band wrapped around the filter cup lid, turn it gently to open the lid.
- Next, you use the specialized pliers to clamp the small RO core head. Slowly pull the RO core out for cleaning. If you don't have pliers, you can use a screwdriver to insert into the edge on the RO core head to pull out the filter core.
- Clean the filter cup with a soft cloth or brush, wipe dry to avoid scratching the filter cup.
- Rinse gently with clean water, then dry with a clean towel.
Remove the filter cup and clean with a clean soft cloth to prevent the product from being scratched or impacted.
Note: When removing the filter membrane from the cup, gently rotate it, avoid pulling it straight to avoid slipping the rubber gasket.
Step 4: Clean the RO membrane
Depending on the condition of the RO filter core, you can refer to the 3 cleaning methods below:
Cleaning with water | Cleaning with acid solution | Cleaning with alkaline solution | |
Apply | The filter membrane does not have much dirt. Use < 1 month | Dirt is metal, dissolved solids Use < 1 year | Dirt is organic matter, algae, microorganisms... Use < 1 year |
Time of execution | 30 minutes | 90 minute | 90 minutes |
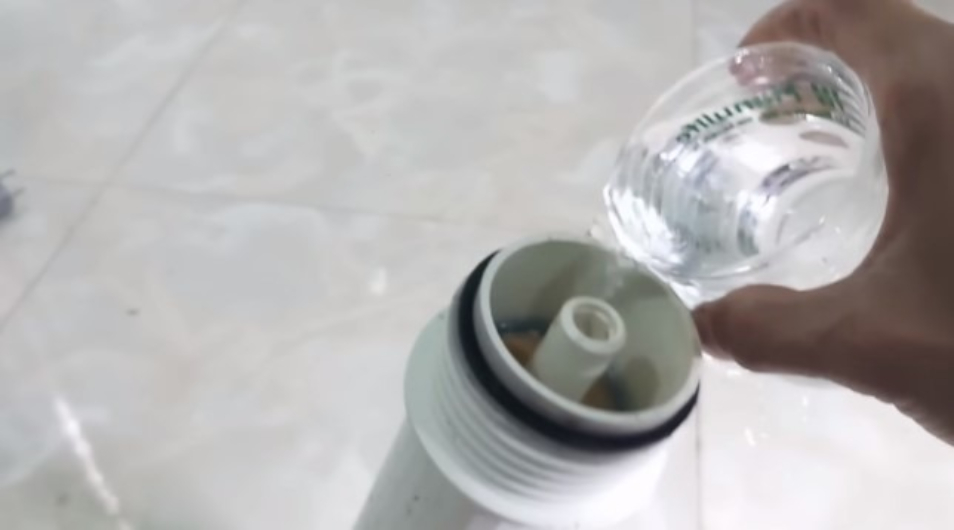
* Method 1: Clean RO membrane simply with water
With this cleaning method, you should only apply it to new water purifiers that have been used for less than 1 month and do not have too much dirt.
Steps to follow:
- Prepare a basin of clean water and a soft cloth to gently wipe the filter membrane.
- Gently dip the removed filter head into water, tapping around the filter on an inclined surface to loosen dirt.
- Repeat the above process for 5 minutes so that each section of the filter membrane is cleaned.
- Repeat the same with the other end (this end just needs to be tapped). When tapping, rotate around the membrane so that the water can loosen the dirt layers.
Clean the RO membrane by dipping it in water and tapping evenly around the filter membrane head.
Note:
- Do not hit the filter core handle or rubber gasket because these parts are easily damaged when external force is applied.
- When tapping, do this evenly on the edges of the membrane to ensure cleaning of all surfaces.
- Do not hit too hard to avoid damaging the components.
- Knock, rotate and dip in water continuously to loosen dirt more easily.
The above method only cleans basic deposits and dirt. To clean the RO membrane better, you can refer to the 2 methods below using acid/alkaline solutions:
* Method 2: Clean RO membrane with acid solution
If you find that the water has a metallic taste or contains small solids such as calcium deposits, you need to clean the RO membrane with an acid solution.
Steps to follow:
- Mix vinegar solution + filtered water in a ratio of 1:1 or use acid (non-chlorine) mixed with clean water, ensuring a pH >2. If the pH does not meet the standard, it can lead to stains remaining, or if the pH is too high, it can damage the RO membrane. Therefore, ensuring the solution ratio is very important.
- Soak the RO membrane in the above solution for 45-60 minutes to loosen dirt from the membrane, then cleaning will be simpler.
- After soaking the membrane in the above solution, continue to gently tap the RO membrane on the inclined surface and shake it lightly to remove dirt.
- Continue rinsing the filter core with clean water so that the water flow removes any remaining dirt in the membrane. When rinsing, gently tap around the outer edges of the membrane to aid in better cleaning.
- Repeat until no more residue comes out and the process is complete.
Clean RO membrane with acid solution to dissolve metal stains and dissolved solids.
Note
- When cleaning the RO membrane with an acid solution, tap gently and evenly on the edge of the RO membrane. Never tap hard and directly on the membrane, as this part will be subjected to great force and cause damage.
- Remember to only hit the top of the core and absolutely do not hit the rubber gasket or the filter core handle.
* Method 3: Clean RO membrane with alkaline solution
After about 1 year of use, the water purifier may show signs of organic dirt, algae, and microorganisms. At that time, you should clean the RO membrane with an alkaline solution.
Steps to follow:
- Prepare an alkaline solution (basic caustic soda) then dissolve it in clean water so that the pH is < 12. The pH should be checked before cleaning the RO membrane to ensure effective cleaning.
- Soak the filter membrane in the solution for 30-45 minutes to dissolve stubborn dirt and algae.
- After soaking in alkaline solution for enough time, shake and gently tap around the membrane to loosen the stains. At the same time, rinse several times with clean water to wash away all remaining dirt in the membrane, similar to the steps in method number 2.

After soaking the RO membrane with alkaline solution, continue to tap and shake gently to loosen the dirt.
Note:
- If you use both alkaline and acid solutions for cleaning, you need to rinse the membrane thoroughly with pure water before moving on to the other group, rinsing continuously for 30 minutes.
- Cleaning the RO membrane with acid and base solutions is quite complicated and not everyone can do it. Make sure you have thoroughly studied the structure of the RO membrane. In addition, have all the tools before starting to clean.
Step 5: Reinstall the RO membrane and operate the machine
To complete the periodic RO membrane cleaning process, the final step is to reinstall the RO membrane in its original position and operate the machine again. The detailed steps are as follows:
Steps to follow:
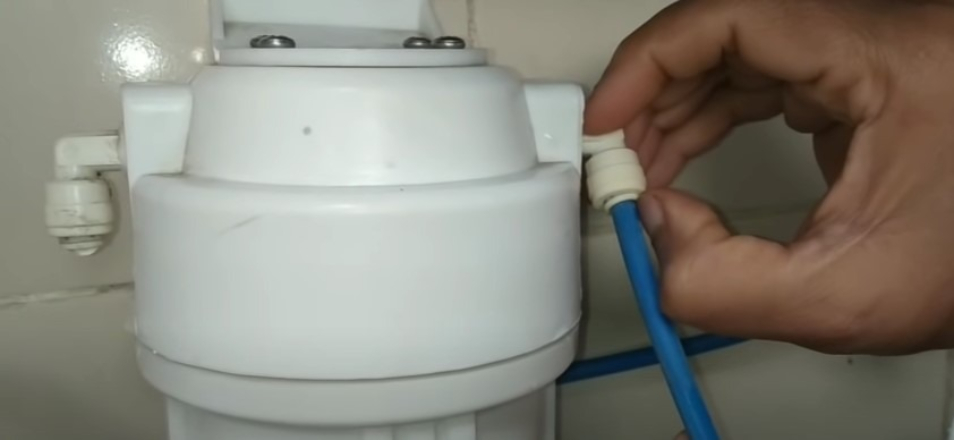
- Install the RO membrane into the filter cup in its original position.
- Place the filter cup in the correct original position, connect the water lines, waste water lines and pure water lines correctly. Then tighten the screw again.
- Reconnect the power source, open the water supply valve to the filter and use the machine normally.
Reinstall the RO membrane in its original position and you can use the water purifier effectively and with high quality like new.
Note:
- Install the filter membrane into the correct threaded joint to avoid mixing of waste water and filtered water which may cause damage or malfunction of the machine.
- Connect the water hose to the correct position. If connected incorrectly, the water purifier may not work or the filter faucet may not be able to be opened or closed.
- Remember to attach the rubber gasket when covering the filter cup to avoid water leakage during use. justify;">Rinse 1-2 times within 30 minutes before use to deodorize and remove any remaining tiny dirt.
Through this article, we hope that you will have more useful information on how to clean RO membranes. If you have any questions that need to be answered, please comment below the article for the fastest response!